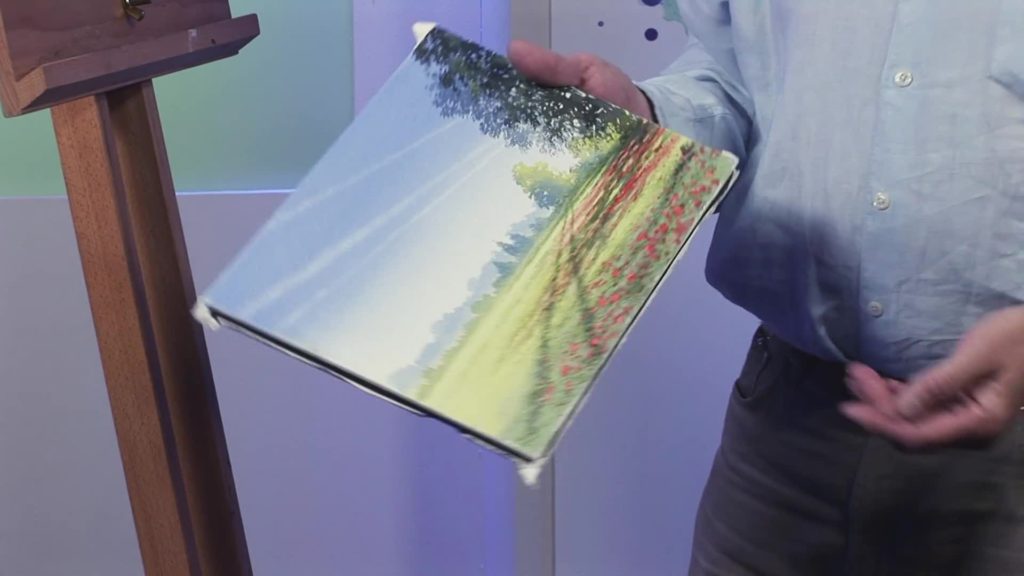
If you are a watercolor artist, then chances are you have questions about stretching your paper. This article is for all of you out there who want to know the ins and outs of this process. We will cover what materials to use, how to do it step-by-step, and give some helpful tips along the way!
Why stretch watercolor paper?
Stretching the surface of the paper before painting on it will help keep paint from sinking too far into the fibers. This makes it easier to work with and creates a more even finish when dry!
I stretch the paper to get even absorption of paint on both sides when using a watercolor brush. It will give you an evenly painted surface when done correctly and your watercolors won’t bloom (or spread out) as much!
I’ve been stretching my own for years now because usually we just buy A- or B-grade paper that’s really rough in texture with some ripples from being dried flat, making painting difficult. It is not always easy to find good quality grades at an affordable price. So this way I know what I am getting every time. Plus, there are many different styles to choose from — from cold press textures (smooth but not overly glossy) to rough textured and hot-pressed paper in order to get the right feel for your painting.
The materials you need
- Sheet of plywood
- Watercolor paper
- Water
- Brush
- Masking tape (if you prefer this method)
The first step is to choose the surface you’ll be stretching on. Ideally, a piece of Masonite or hardboard will work well because it’s stiff and strong, but if that isn’t an option any sheet of plywood should suffice as long as it has a finished side which would then face outward from the frame (or stretcher) to give your paper some protection when wet watercolor paint soaks through.
How to stretch watercolor paper
How do I stretch my watercolor paper? There are two main methods: wet and dry stretching. These first two techniques are great, but I also give you one more method as a bonus.
Wet stretching is the most time-consuming and requires more materials, but it provides a stretchier surface for painting.
Dry stretching works just as well with less work involved. It involves securing your paper to a board using masking tape or an acid-free glue stick before you paint on top of that so that once dry, you can remove the adhesive and have a crisp, smooth surface ready for use!
Using masking tape
This is the easiest and cheapest way to stretch your paper, but it limits you in terms of size.
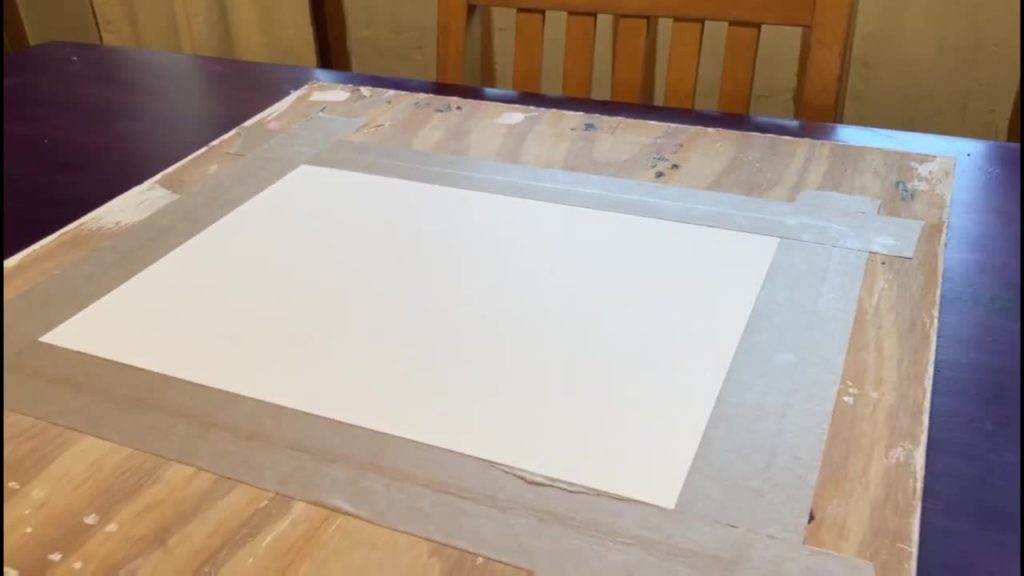
1. Stick the paper
Tape one edge of your watercolor paper to a table or board (this will be called the “bottom”) then hold down and smooth out any wrinkles while taping down the other three edges onto another surface like a tabletop. The top should now lie flat on that surface − perfect for painting! And all wrinkling should be held taut until drying completes.
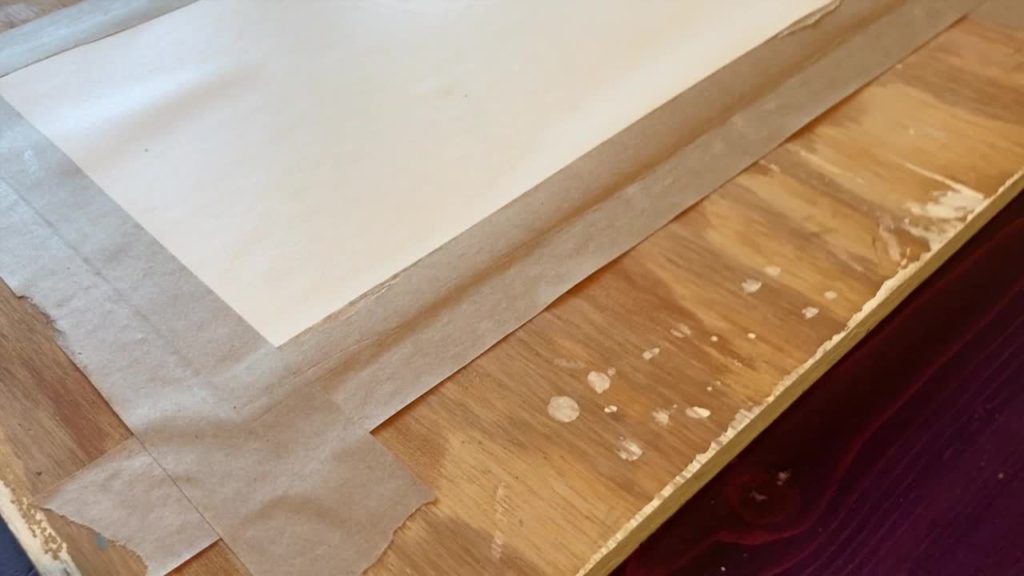
I’m going to make sure half of the sticky side is over paper while the other end sticks onto this drawing board. From there onward, we’re done flattening out our paper with water – so no more touching!
2. Get your watercolor paper wet
This can be accomplished by using a wet sponge and pressing it down on the paper. Or you can take a brush that has been dipped in clean water and paint over the top layer of paper. Make sure that it is fully saturated before proceeding with the next steps.
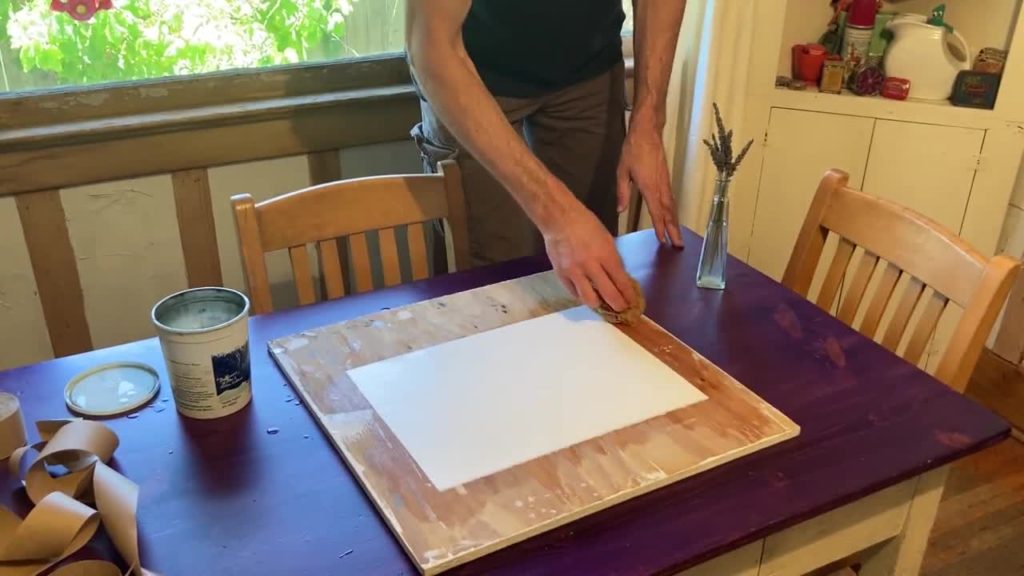
Watercolor paper is very absorbent, so you want to refrain from applying too much moisture in any one area or else your paint will run and drip through the painting later on.
Pull up from mid-top slowly as not to create too many wrinkles at once while stretching – this may take some practice!
It’s normal for the watercolor paper to have a few creases after drying; those can be easily fixed if they’re placed strategically within the drawing itself. Simply add additional layers of paint over them until they disappear entirely into the background or foreground colors without leaving an obvious line.
3. Dry overnight
The paper should be dry and ready for use the next day. For long-term storage, place it in a plastic sleeve with a moisture barrier to prevent further damage from excess humidity or contact with environmental pollutants like cigarette smoke.
Without masking tape
If you’re dry stretching and don’t want to use masking tape, there are still other options! Consider investing in an acid-free glue stick that will create a more even surface. If using the hot glue method, take care not to apply too much liquid while pressing down on the paper or it could warp and ruin your project.
Or you can use the next method to stretch your watercolor paper using a stretching board.
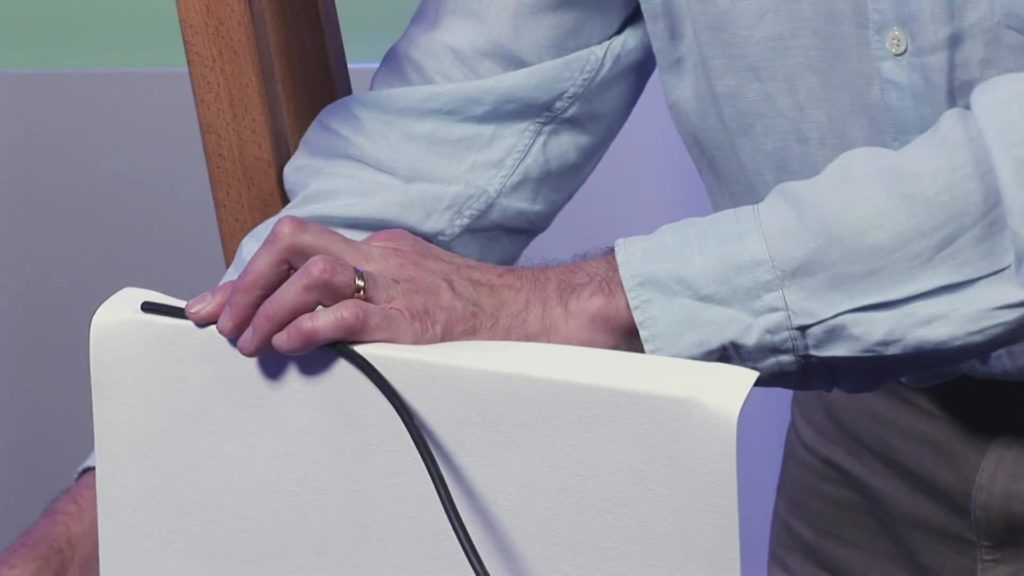
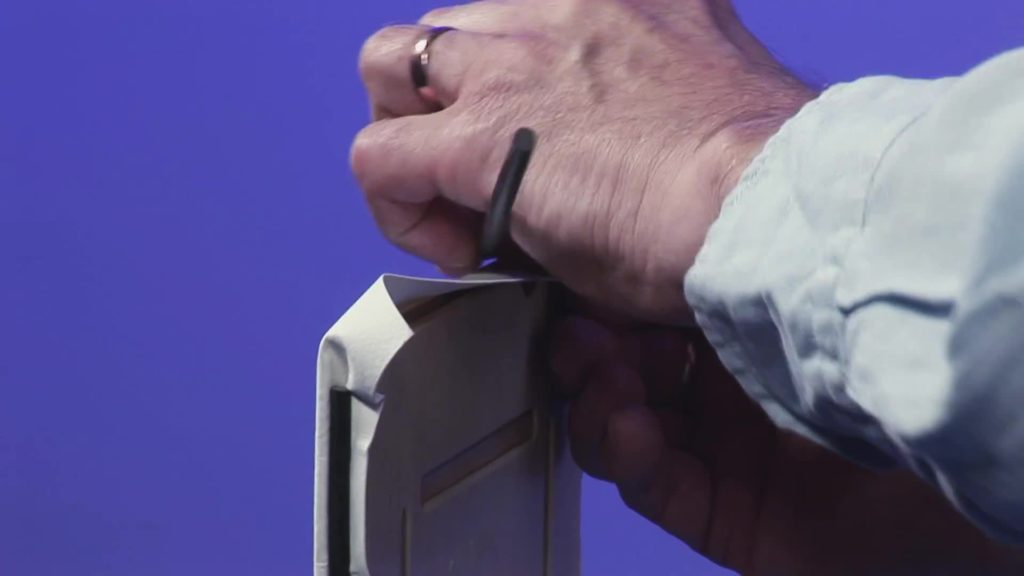
Using stretching board
A good way to get a flat surface for your paper is by using the stretching board method. This involves inserting the paper into a stretcher and stretching it out over two parallel boards.
I’ve got a piece of watercolor paper here. It’s 140 pounds in weight or 300 grams and has been soaking for about 10 to 15 minutes, but you can’t oversoak the paper as I have left it sitting in my sink for hours at a time without any issues before. The best thing about the wet variety is that it will expand more than when it is dry. It is very flexible too!
The first step is to put the watercolor paper on a large sheet of plastic to free the edges. Next, you press down onto it and then fold along one edge while trapping the bottom with your fingers. To make this structure last for years, use flexible plastics as molding boards which will be hammered into place by using something heavy like a hammer or mallet (be careful not to smash too hard).
Tips for stretching your own watercolor paper
- The first thing you need to remember is that the paper needs to be soaked in water for at least 30 minutes before you try to stretch it. The other important thing is not to use a brush with too much liquid on it – if your bristles are dripping, then wait until they’re dry before moving onto any of the next steps.
- If this sounds frustratingly difficult, just place two pieces of scrap wood or anything else heavy enough along each side and press them together with clamps.
- After applying watercolor to your project, allow it to dry after painting for at least two hours while still stretched tight before proceeding with any additional steps like adding more paint or removing the tape.
Pre-stretched watercolor paper
The other option for beginners to start watercolor painting is by buying pre-stretched watercolor paper. This comes in a variety of sizes and often includes the frame, so just make sure that you read through everything before committing.
The advantage of using pre-stretched paper is that there are no worries about stretching the watercolor paper yourself.
In addition, you will not have to worry about flaws in the surface or any other damage on your page because it’s already been taken care of for you.
Aside from that though, this option has all but eliminated my frustrations with trying to stretch watercolor paper myself so it may be worth going out on a limb and giving them a try when considering your options.
As an added bonus though, most pre-stretched papers come with frames that will save you time and effort when framing your project later on down the line because all of the research has already been done for you which again makes them a very attractive option indeed!
Conclusion
You may have heard that stretching the surface of your paper is important to get an even and smooth painting. There are two main ways you can stretch it – wet or dry, which we’ll explain below in more detail.
I’d recommend that you give the pre-stretched watercolor paper a try if you have the option available. As an artist, it’s hard to know which type of paper is best for your needs without first trying them out on the surface but this method has eliminated my frustrations when stretching watercolor paper and may be worth checking out for yourself as well!
Have you stretched any sheets lately? If not, give one (or both!) methods a try before starting work on your next project.